 how-to
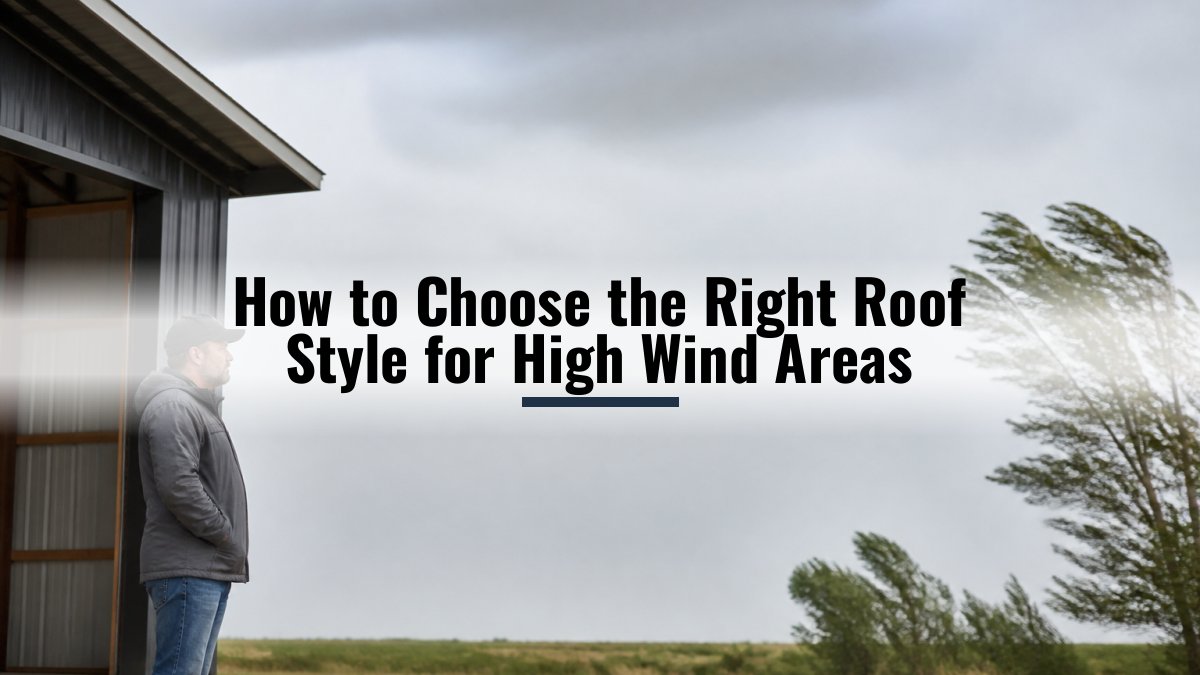
How to Choose the Right Roof Style for High Wind Areas
Table of Contents
- Start With Your Local Wind Exposure, Not the Roof Catalog
- Hip Roof vs Gable Roof Wind Resistance: What the Shape Actually Does
- Roof Pitch for High Winds: Why Steep Slopes Catch More Uplift
- Best Roofing Materials for High Winds
- Roof-to-Wall Connections for Wind Resistance
- Trade-Offs That Decide Your Final Roof Style
- Inspection, Maintenance, and Manufacturer Warranties
- Frequently Asked Questions
Last Updated: October 14, 2026
Start With Your Local Wind Exposure, Not the Roof Catalog
Most people pick a roof style for high wind by browsing photos and working backward. That fails in high wind areas, where the best-looking shape is not always the one that holds up.
Choosing the right roof style for high wind areas starts with one question: how hard does the wind blow where you live? Wind speed, not curb appeal, drives every decision.
Find Your Wind Zone and Design Pressure
Your local building department sets the wind speed your roof must handle. That number comes from FEMA's wind zone and hazard maps and your state or county code office.
Here is how to find yours:
- Call your county building department and ask for the design wind speed for your address
- Check whether your area sits in a hurricane or high-wind zone
- Ask what design pressure your structure must meet
Design pressure is the force your roof must resist, measured in pounds per square foot. Two homes a mile apart can face different pressures if one sits on an open ridge and the other sits behind trees.
Hip Roof vs Gable Roof Wind Resistance: What the Shape Actually Does
A hip roof outperforms a gable roof in high winds because it slopes on all four sides, leaving no flat gable end for wind to push against.
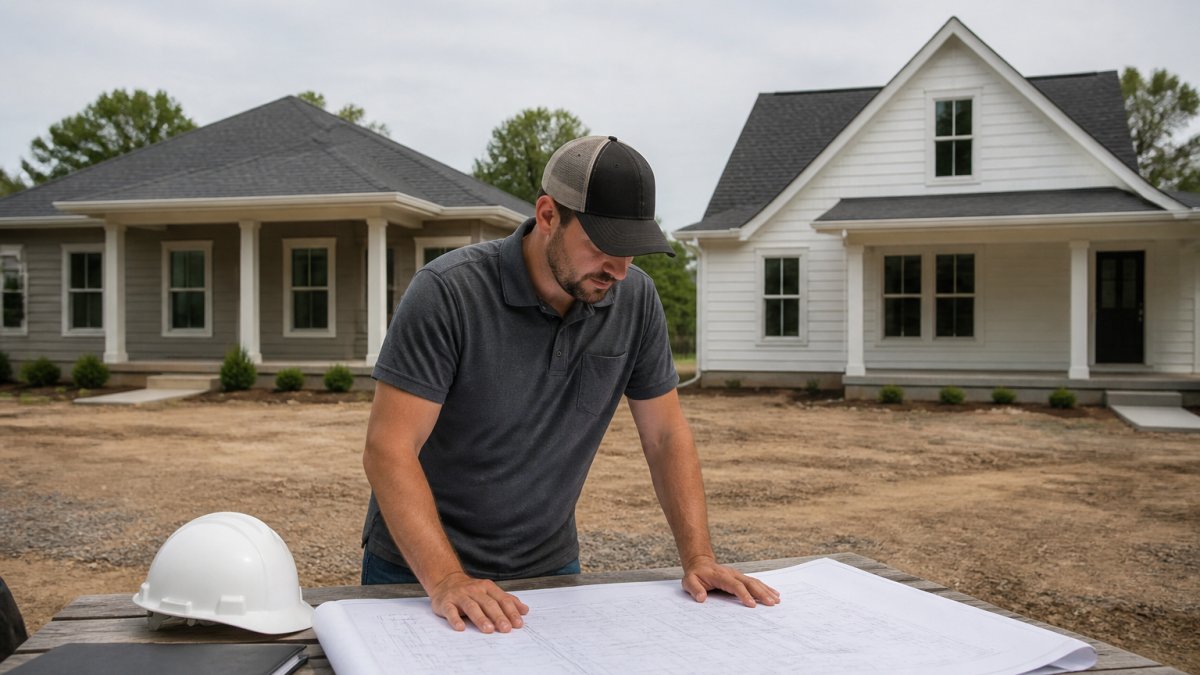
This is why hip roof vs gable roof wind resistance comes up in every serious design conversation. Hip roofs also shed wind-driven rain better at the corners.
Gable roofs are not automatically bad: they cost less and give you more attic space.
Why the Shape Matters: Pressure Zones, Not Just Silhouette
Wind does not push evenly on a roof. It creates three pressure zones, each failing differently:
- Windward edge and corner: the highest suction forces occur here, which is why edge fastening is spaced tighter than field fastening.
- Windward slope: positive pressure pushes down and inward.
- Leeward slope and ridge: negative pressure (suction) tries to lift the roof off the walls.
A hip roof interrupts the corner zone because the slope wraps around it, while a gable concentrates force at a sharp vertical corner where one failed fastener can start a peel. This is a shape effect, not a material effect, the same shingles on a hip and a gable will not perform the same in a gust.
How to Read a Wind Rating Before You Compare Shapes
Manufacturers publish wind ratings, but those numbers are not interchangeable. A shingle rated to 110 mph in a test does not mean your roof survives a 110 mph storm, test conditions rarely match your site.
When you compare products, ask:
- What test method was used, and does it match the rating language on the label?
- Was the rating achieved with the manufacturer's own fastening pattern, or a generic one?
- Does the rating apply to the field of the roof, the edges, or both?
Two products with the same headline wind speed often carry very different edge-zone performance, and since the edge fails first, the edge rating matters more than the field rating.
How Roof Overhangs and Edges Change the Wind Load
Long overhangs catch wind like a hand out a car window, and every extra inch adds uplift at the edge.
Keep these points in mind:
- Shorter overhangs reduce uplift in high wind zones
- Reinforced edges and corners matter most, since wind hits there first
- Roof shape and edge details work together, not separately
The Trade-Off You Are Actually Making
Choosing between hip and gable is a trade among wind performance, cost, attic space, drainage, and architectural fit:
| Factor | Hip Roof | Gable Roof |
|---|---|---|
| Wind performance | Better; no flat end to catch wind | Weaker at gable ends; needs extra bracing |
| Cost | More framing, more material, higher labor | Simpler framing, lower cost |
| Attic space | Less usable volume | More usable volume |
| Drainage | Four-way slope sheds water well | Two-plane drainage; valleys can collect debris |
| Ventilation | Harder to vent at the ridge | Easier ridge and gable venting |
| Architectural fit | Works with most styles | Common in traditional and farmhouse designs |
If your design wind speed is high and your building department requires a continuous load path, a hip roof usually gives more margin without exotic materials. If exposure is moderate and attic space matters, a well-braced gable roof can still meet code.
Roof Pitch for High Winds: Why Steep Slopes Catch More Uplift
Roof pitch for high winds should stay moderate.
Think about holding a sheet of plywood flat versus tilted into a gust. The tilted sheet wants to fly.
Moderate pitches also lower your profile. A low, wide roof lets wind pass over it. A tall, steep roof acts like a wall.
That does not mean flat is always best, too flat and water pools.
Best Roofing Materials for High Winds
The best roofing materials for high winds are installed as a complete system, not just a surface. Metal roofing, architectural asphalt shingles, and concrete tile all perform well when fastened correctly.
Material choice matters, but attachment matters more. A premium shingle nailed poorly fails before a basic shingle nailed right.
Here is how the common options compare:
| Material | Wind Performance | Best For | Watch Out For |
|---|---|---|---|
| Standing seam metal | Excellent, panels interlock | High wind, low slope | Higher upfront cost |
| Architectural shingles | Good when rated and nailed right | Most homes, moderate wind | Sealant strips age over time |
| Concrete or clay tile | Good if fastened per code | Hot, dry climates | Heavy, needs strong framing |
| Galvanized steel panels | Excellent, durable framing | Carports, barns, RV covers | Needs correct fastener spacing |
Metal roofing leads in wind-prone areas because panels lock together and resist uplift as one unit, and galvanized steel framing adds durability.
Fasteners and Nailing Patterns That Hold Under Uplift
Fasteners are where wind resistance is won or lost. The right nail in the right pattern holds a roof down. The wrong one lets it peel.
Follow these rules:
- Use fasteners rated for your wind zone, not the cheapest box on the shelf
- Follow the manufacturer's nailing pattern exactly, including edge spacing
- Space fasteners closer at edges and corners, where wind pressure peaks
Roof-to-Wall Connections for Wind Resistance
Roof-to-wall connections for wind resistance keep the roof attached to the building. When wind lifts a roof, the connection is the last line of defense.
Most failures start at the connection, not the surface.
What to check:
- Metal connectors that tie rafters or trusses to wall framing
- Anchors that tie the wall to the foundation
- A continuous load path from roof to ground
A continuous load path means every part of the structure passes wind force down to the foundation. Break the chain anywhere and the roof is only as strong as its weakest link.
Trade-Offs That Decide Your Final Roof Style
Every roof style trades one strength for another. The right choice depends on your wind exposure, budget, and how you use the space. But a list of trade-offs is not a decision. What most guides skip is the order in which to make the call.
Here is a step-by-step method you can run before you talk to a builder or order a kit.
Step 1: Pin Down Your Design Wind Speed and Exposure Category
Start with the number your building department enforces. Ask for the design wind speed for your address in writing, plus which exposure category applies to your site, that is, how open the terrain is around your building:
- Exposed sites (open fields, ridges, waterfront, sparse development) see higher wind speeds at roof height.
- Sheltered sites (dense development, heavy tree cover, valleys) see lower speeds at the same map location.
Two buildings a mile apart can fall into different exposure categories, changing the pressure the roof must resist. That is why the map alone is not enough.
Step 2: Translate Wind Speed Into Design Pressure
Design wind speed is not the same as design pressure. Pressure depends on wind speed, exposure, building height, and roof shape. Your building department or a licensed designer can give you the design pressure in pounds per square foot for the zones that matter: field, edge, and corner.
With that number you can compare products honestly. A product rated below your corner zone's required pressure is not a candidate, no matter how good it looks in the catalog.
Step 3: Match Roof Shape to Your Building Footprint
Roof shape interacts with building shape. A few rules of thumb:
- Square or near-square footprints work well with hip roofs, which wrap the corners and reduce the sharp edge zone.
- Long, narrow footprints often use gable or shed roofs, but the gable ends need extra bracing and a continuous load path.
- Complex footprints with multiple wings create valleys and re-entrant corners where wind pressure concentrates. These areas need closer fastening and careful flashing.
If your footprint is fixed, the shape choice is partly made for you. If you are still designing, a simpler footprint with a hip roof is usually the lower-risk path in high wind.
Step 4: Weigh the Trade-Offs Against Your Priorities
Once you know your pressure target and footprint, compare the realistic options:
- Hip vs gable: hips resist wind better, gables cost less and add attic space
- Steep vs moderate pitch: steep sheds snow and rain, moderate resists uplift
- Metal vs shingle: metal lasts longer and handles wind better, shingles cost less upfront
For a carport, RV cover, or barn, the same logic applies. A low-slope galvanized steel structure sheds wind and protects what is underneath. Custom sizing lets you match the footprint to your vehicle or equipment without wasted space. Our 3D design tool lets you set dimensions and see state-specific pricing before you commit.
Step 5: Confirm the Whole System, Not Just the Shape
Shape alone does not decide performance. Before you finalize, confirm the roof deck, underlayment, edge metal, fasteners, and roof-to-wall connections are all specified for the same design pressure. A hip roof with undersized fasteners will underperform a well-braced gable roof with a complete load path.
Ask your builder or supplier for the fastening schedule, connector details, and product approvals that match your design pressure. If any are missing, the shape choice is not yet finished.
Property owners in high wind zones who need a low-profile, engineer-certified structure that meets local wind and snow loads without a custom price tag.
Inspection, Maintenance, and Manufacturer Warranties
Inspection and maintenance keep a roof strong long after installation. Wind damage rarely happens all at once.
Check your roof twice a year and after every major storm:
- Look for lifted, cracked, or missing shingles or panels
- Check flashing around edges, vents, and seams
- Tighten or replace any loose fasteners
Manufacturer warranties often require proof of proper installation and maintenance, so keep your paperwork. Skipped inspections or unapproved repairs can void a warranty.
High wind does not have to mean constant worry. The right shape, pitch, and connections turn a roof into a structure that holds.
Frequently Asked Questions
Are hip roofs more wind-resistant than gable roofs?
Yes, in most high wind areas a hip roof outperforms a gable roof. A hip roof slopes on all four sides, so wind slides over it instead of pushing against a flat gable end. That shape reduces wind uplift and lowers the chance of the roof lifting at the edges. Gable roofs can still work in windy regions, but they need stronger bracing, closer nailing, and careful attention to the gable end wall.
Does roof pitch affect wind resistance?
Roof pitch for high winds matters more than many homeowners expect. A steep pitch presents a larger surface to the wind and can increase uplift pressure, especially on the windward side. Lower and moderate slopes usually perform better in exposed locations. The right pitch also depends on your local wind zone, roof shape, and material, so check your design pressure before deciding on a slope.
Which roofing materials perform best in high winds?
The best roofing materials for high winds are ones rated and installed for your wind zone. Asphalt and architectural shingles with high wind ratings work well when nailed correctly. Metal roofing panels with concealed fasteners resist uplift and wind-driven rain. Tile and slate are heavy and durable but need a reinforced structure and careful fastening. Check the product rating and manufacturer warranty for the wind speed it is tested to withstand.
How do roof-to-wall connections improve wind resistance?
Roof-to-wall connections for wind resistance tie the roof structure to the walls and foundation so the whole building shares the load. Straps, clips, and anchored fasteners stop the roof from lifting off during a hurricane or severe storm. These connections must match your local building code and design pressure. A licensed contractor or engineer can confirm the right hardware and spacing for your home.